 Pin It
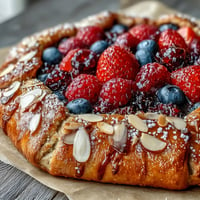
 The scent of warm pears and butter hit me the moment I opened the oven, and I knew I'd stumbled onto something special. My neighbor had dropped off a bag of pears from her tree, far too many to eat fresh, and I wasn't about to let them go to waste. I'd never made a crumble before, but the process felt almost meditative: rubbing cold butter into flour, watching it clump into golden nuggets. When it came out of the oven, the topping crackled under my spoon, and the pears beneath were soft, sweet, and just barely holding their shape. It's been my go-to ever since whenever fruit needs rescuing.
I made this for a small dinner party once, and halfway through the meal I realized I'd forgotten to serve an appetizer. No one cared, because they were too busy scraping their bowls clean and asking if there was more. One friend admitted she doesn't even like cooked fruit, but she had two servings anyway. That night taught me that a simple dessert, done right, can carry an entire evening.
Ingredients
- Ripe pears, peeled, cored, and sliced: Choose pears that give just slightly when pressed, ripe enough to be sweet but firm enough to hold up under heat without turning to mush.
- Lemon juice: This brightens the filling and keeps the pears from browning while you work, plus it balances the sugar beautifully.
- Granulated sugar: Just enough to coax out the natural sweetness without making the filling cloying or syrupy.
- Vanilla extract: A teaspoon goes a long way in rounding out the flavor and making the whole dish smell like a hug.
- Ground cinnamon (filling): Adds warmth without overpowering the delicate pear flavor, just a gentle background hum.
- All-purpose flour (filling): This tablespoon thickens the juices so they don't flood the dish, creating a luscious, spoonable base instead.
- All-purpose flour (topping): The backbone of the crumble, giving it structure and that satisfying crunch when baked.
- Rolled oats: They add texture and a slight nuttiness that makes the topping feel hearty and rustic.
- Light brown sugar, packed: The molasses in brown sugar deepens the flavor and helps the topping caramelize into golden clusters.
- Ground cinnamon (topping): Echoes the spice in the filling and ties everything together with cozy warmth.
- Salt: A small pinch sharpens all the other flavors and keeps the sweetness in check.
- Unsalted butter, cold and cubed: Cold butter is the secret to a crumbly, not greasy, topping; it creates pockets of flakiness as it melts in the oven.
Tired of Takeout? 🥡
Get 10 meals you can make faster than delivery arrives. Seriously.
One email. No spam. Unsubscribe anytime.
Instructions
- Preheat and Prep:
- Set your oven to 375°F (190°C) and let it heat fully while you get everything ready. Grease a 9-inch baking dish lightly with butter or nonstick spray.
- Toss the Pears:
- In a large bowl, combine the sliced pears with lemon juice, sugar, vanilla, cinnamon, and flour, tossing gently until every slice is coated. Spread them evenly in the prepared dish, making sure no gaps are left.
- Make the Crumble:
- In another bowl, mix together the flour, oats, brown sugar, cinnamon, and salt. Add the cold butter cubes and work them in with your fingertips or a pastry cutter until the mixture looks like coarse crumbs with some pea-sized chunks still visible.
- Top and Press:
- Sprinkle the crumble mixture evenly over the pears, then press down gently with the back of a spoon to create a thick, even layer. Don't pack it too tight or it won't get as crunchy.
- Bake Until Golden:
- Slide the dish into the oven and bake for 35 minutes, watching for the topping to turn deep golden brown and the pear juices to bubble up around the edges. The smell will be intoxicating.
- Cool and Serve:
- Let the crumble rest for about 10 minutes before serving so the filling can thicken slightly. Spoon it into bowls while it's still warm, adding a scoop of vanilla ice cream or a dollop of whipped cream if you're feeling indulgent.
 Pin It
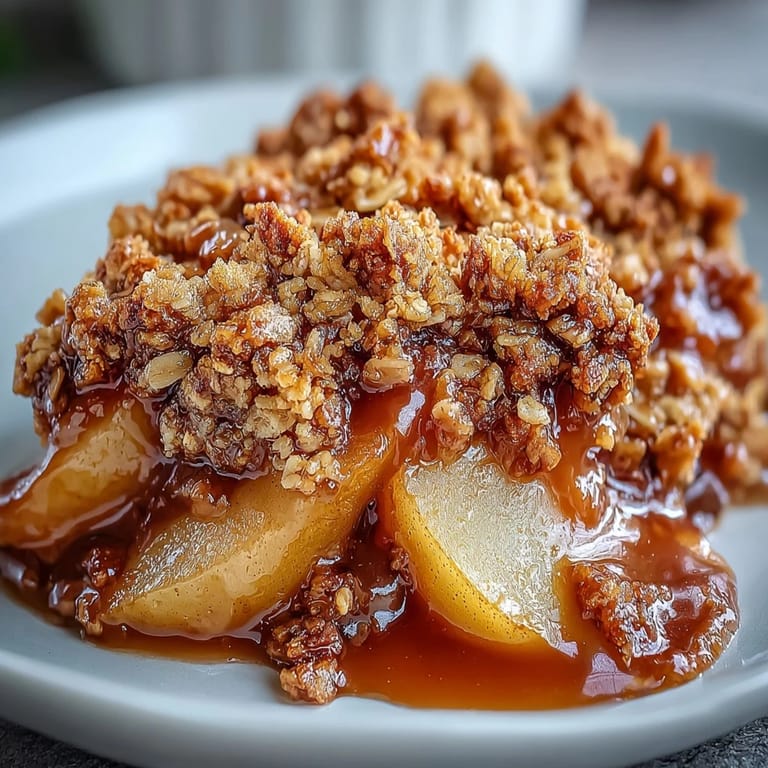
 One autumn evening, I served this crumble to my dad, who normally only eats dessert out of politeness. He finished his bowl in silence, then quietly got up and came back with a second helping. He didn't say much, but the empty dish at the end of the night told me everything. That's when I realized this recipe wasn't just about pears and butter, it was about creating a moment people remember.
Choosing the Right Pears
I learned the hard way that rock-hard pears won't soften enough in 35 minutes, and overly ripe ones will collapse into baby food. Bartlett and Bosc pears are my favorites because they hold their shape and have a natural sweetness that doesn't need much help. If your pears are underripe, let them sit on the counter for a day or two until they yield gently to pressure near the stem. You can also mix in a couple of apples if you want more tartness or just happen to have them on hand. Trust your instincts and give the fruit a gentle squeeze before you commit.
Getting the Topping Just Right
The first time I made this, I overworked the crumble and it turned into a dense, cookie-like slab instead of a crunchy, crumbly layer. The trick is to stop as soon as the butter is incorporated and the mixture looks shaggy, with some chunks the size of peas or even larger. Those bigger pieces turn into the most delicious golden clusters that crackle when you bite into them. If the mixture feels too dry, don't add liquid, just keep rubbing gently until it starts to clump. And whatever you do, don't melt the butter or use it at room temperature, cold is the only way to get that perfect texture.
Serving and Storing
This crumble is at its absolute best when it's still warm from the oven, with the topping crisp and the pears soft and fragrant. I love serving it with a scoop of vanilla ice cream that melts into the filling, creating little pools of creamy sweetness. Leftovers can be stored in the fridge for up to three days, covered tightly, though the topping will soften as it sits. To bring back some of that crunch, reheat individual portions in a 350°F oven for about 10 minutes instead of using the microwave.
- Add a handful of chopped walnuts or pecans to the crumble for extra crunch and a toasty flavor.
- For a gluten-free version, swap in gluten-free flour and certified gluten-free oats without changing anything else.
- A pinch of nutmeg in the filling adds another layer of warmth that pairs beautifully with the cinnamon.
 Pin It
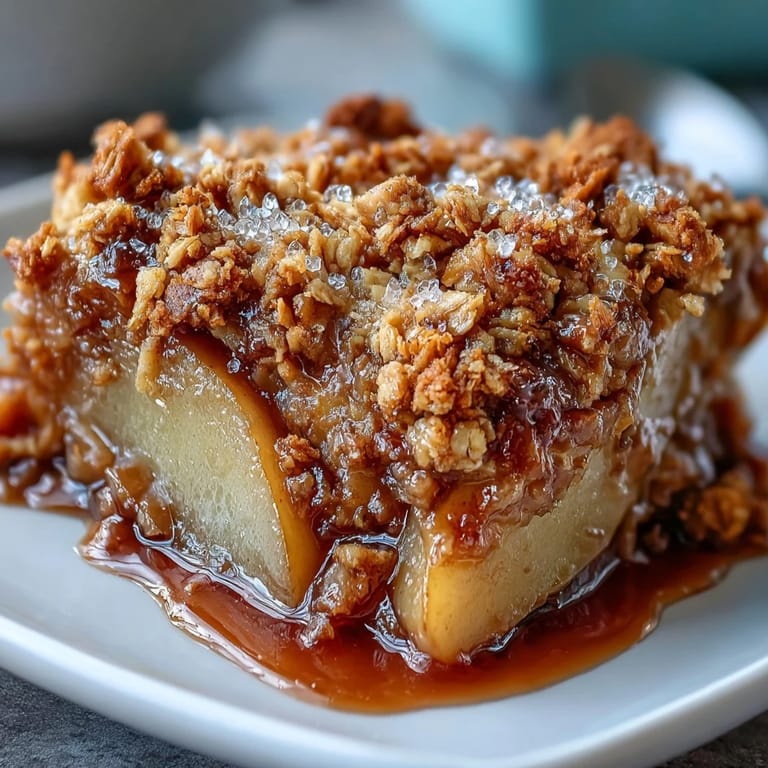
 There's something deeply comforting about pulling a bubbling crumble out of the oven, knowing it's going to make people happy without any fuss or pretense. I hope this becomes one of those recipes you reach for again and again, the kind that feels like home.
Recipe Questions & Answers
- → What type of pears work best for this crumble?
Ripe but firm pears such as Bartlett, Anjou, or Bosc work wonderfully. They should be juicy but hold their shape during baking without becoming mushy.
- → Can I make the crumble topping ahead of time?
Yes, you can prepare the crumble topping up to 2 days in advance. Store it in an airtight container in the refrigerator and sprinkle over the pears just before baking.
- → How do I prevent the topping from burning?
If the topping browns too quickly, loosely cover the dish with aluminum foil for the remaining baking time. This allows the pears to cook through while protecting the crumble.
- → Can I substitute the butter with a dairy-free alternative?
Absolutely. Use cold vegan butter or coconut oil as a 1:1 substitute. The texture will be slightly different but still delicious and crumbly.
- → How should I store leftovers?
Store covered in the refrigerator for up to 3 days. Reheat individual portions in the microwave or warm the entire dish in a 350°F oven for 15 minutes to restore crispness.
- → Can I freeze pear crumble?
Yes, freeze either unbaked or baked crumble for up to 3 months. Bake from frozen, adding 10-15 extra minutes to the cooking time if unbaked, or thaw and reheat if already baked.