Guava Jelly Preserve

Featured in: Breads & Sweet Bakes

Crafting homemade guava jelly transforms fresh ripe guavas into a jewel-toned preserve that captures tropical sweetness in every spoonful. This medium-difficulty process requires about 1 hour total time, yielding approximately 4 cups of versatile condiment perfect for breakfast toast, cookie fillings, or dessert glazes.

The method begins by simmering quartered guavas with water until soft, then straining through cheesecloth for 2 hours or overnight to extract crystal-clear juice. The key is letting gravity do the work without pressing the fruit, which keeps your final preserve beautifully translucent. The strained juice combines with sugar and lemon juice, boiling rapidly until reaching the precise gel stage at 220°F.

Testing doneness involves the classic wrinkle test on a cold plate, ensuring perfect consistency every time. The result stores well in sterilized jars, with opened portions lasting 3 weeks refrigerated. For best results, use slightly underripe guavas which contain more natural pectin, and always skim foam during boiling for maximum clarity.

Updated on Fri, 06 Feb 2026 20:42:33 GMT
Glistening, rosy guava jelly glistens in a glass jar, ready for toast or thumbprint cookies. Pin It
Glistening, rosy guava jelly glistens in a glass jar, ready for toast or thumbprint cookies. | hyperflavors.com

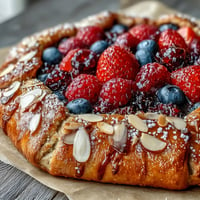
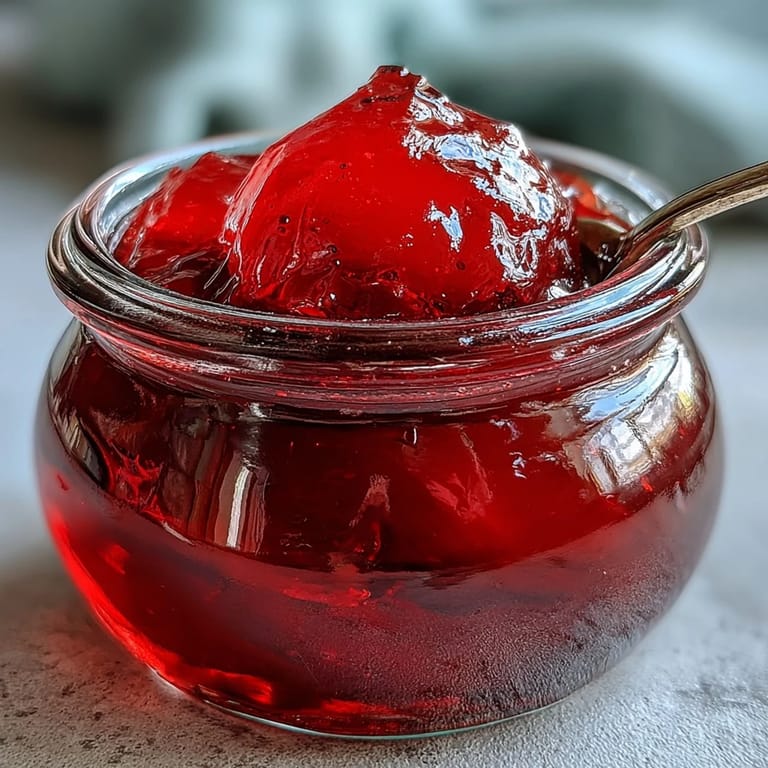
Experience the essence of the tropics with this vibrant, jewel-toned Guava Jelly. Crafted from ripe guavas, this preserve offers a stunning, translucent glow and a sweet-tart flavor profile that is perfect for filling thumbprint cookies, spreading on morning toast, or glazing delicate pastries.

Glistening, rosy guava jelly glistens in a glass jar, ready for toast or thumbprint cookies. Pin It
Glistening, rosy guava jelly glistens in a glass jar, ready for toast or thumbprint cookies. | hyperflavors.com

What's for Dinner Tonight? 🤔

Stop stressing. Get 10 fast recipes that actually work on busy nights.

Free. No spam. Just easy meals.

Homemade jelly making is a rewarding process that transforms simple fruit into a concentrated delight. This recipe focuses on clarity and the perfect gel set, ensuring every jar is filled with a professional-quality spread that surpasses store-bought alternatives.

Ingredients

Tired of Takeout? 🥡

Get 10 meals you can make faster than delivery arrives. Seriously.

One email. No spam. Unsubscribe anytime.

  • Fruit: 1.5 kg (about 3.3 lbs) ripe guavas and 4 cups water.
  • Sweetener & Gelling: 4 cups granulated sugar and 2 tbsp lemon juice.
Product image
Soft, absorbent towels keep counters dry while cooking, wiping spills, and handling dishes during everyday recipe prep.
Check price on Amazon

Instructions

Step 1
Wash the guavas thoroughly. Cut them into quarters, leaving skins and seeds intact.
Step 2
Place guava pieces in a large saucepan. Add water and bring to a boil over medium heat.
Step 3
Reduce heat and simmer for 30 minutes, or until the fruit is very soft.
Step 4
Line a large strainer with a double layer of cheesecloth and set over a bowl. Pour the cooked fruit and liquid into the strainer. Let it drip undisturbed for at least 2 hours (or overnight) to extract clear juice. Do not press or squeeze, to keep the jelly clear.
Step 5
Measure the extracted juice. For each cup of juice, use 1 cup of sugar. Pour juice into a clean saucepan, add lemon juice, and stir in the sugar.
Step 6
Bring the mixture to a boil over high heat, stirring to dissolve the sugar.
Step 7
Boil rapidly until the mixture reaches gel stage (220°F/104°C on a candy thermometer), about 15–20 minutes. Skim off any foam.
Step 8
Test for doneness by placing a small spoonful of jelly on a cold plate. If it wrinkles when pushed, its ready.
Step 9
Pour hot jelly into sterilized jars, leaving 1/4-inch headspace. Seal immediately.
Step 10
Let cool completely before storing in a cool, dark place.

Zusatztipps für die Zubereitung

To ensure a perfect set every time, always use a candy thermometer to reach exactly 220°F (104°C). If you don't have a thermometer, the cold plate test is an excellent manual indicator of readiness. Remember to use sterilized jars to maintain the shelf life of your preserves.

Still Scrolling? You'll Love This 👇

Our best 20-minute dinners in one free pack — tried and tested by thousands.

Trusted by 10,000+ home cooks.

Varianten und Anpassungen

For those who prefer a more complex flavor, you can include a small portion of underripe guavas to increase natural pectin levels, which provides a firmer gel. The ratio of sugar to juice is critical for gelling, so ensure you measure your extracted liquid carefully before adding the sweetener.

Serviervorschläge

This jelly serves as an excellent glaze for fruit tarts and cakes. It also makes a wonderful accompaniment to a cheese board or can be used as the traditional filling for tropical-themed thumbprint cookies. For a simple treat, spread it generously over warm, buttered toast.

Juicy guava jelly sets with a perfect gel, a sweet-tart spread for breakfast. Pin It
Juicy guava jelly sets with a perfect gel, a sweet-tart spread for breakfast. | hyperflavors.com

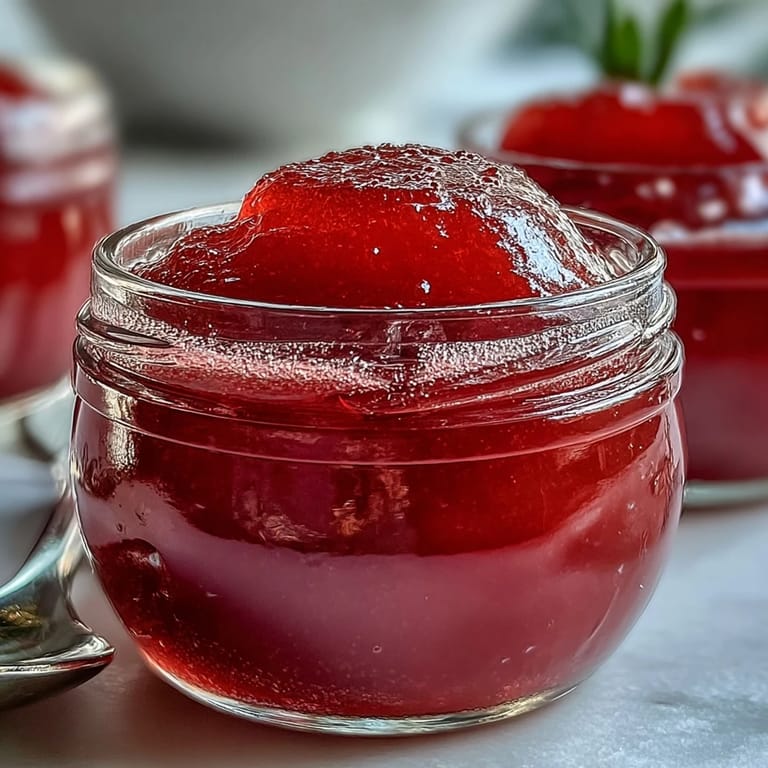
Once opened, keep your guava jelly refrigerated to maintain its freshness and vibrant color. This homemade preserve is a delightful way to capture the sunshine of the tropics in a jar and enjoy it throughout the year.

Product image
Toast bread, bagels, and sourdough evenly for breakfast, sandwiches, and quick meal prep.
Check price on Amazon

Recipe Questions & Answers

How do I know when the jelly reaches the proper consistency?

The most reliable method is using a candy thermometer to reach 220°F (104°C), which indicates the gel stage. Alternatively, place a small spoonful on a cold plate and push it with your finger - if the surface wrinkles, it's ready to jar.

Can I use frozen guavas instead of fresh?

Yes, frozen guavas work perfectly well for making jelly. Thaw them completely before starting, and include any liquid that accumulates during thawing as part of your water measurement. The process remains identical.

Why shouldn't I press the fruit while straining?

Pressing or squeezing the fruit pulp forces solids and cloudiness into the juice, resulting in murky jelly rather than the desired clear, jewel-toned appearance. Letting gravity strain naturally over 2 hours or overnight produces beautifully translucent preserves.

How long does homemade guava jelly last?

Properly sealed and sterilized jars stored in a cool, dark place remain fresh for up to 1 year unopened. Once opened, transfer to the refrigerator and consume within 3 weeks for optimal quality and freshness.

What's the purpose of lemon juice in the recipe?

Lemon juice serves multiple functions: it balances the guava's natural sweetness with bright acidity, helps the gel set properly by interacting with pectin, and acts as a natural preservative to extend shelf life.

Can I reduce the amount of sugar?

Sugar isn't just for sweetness - it's essential for proper gelling and preservation. Reducing sugar significantly affects texture and shelf stability. If you prefer less sweetness, use smaller portions rather than altering the ratio.

20-Minute Dinner Pack — Free Download 📥

10 recipes, 1 shopping list. Everything you need for a week of easy dinners.

Instant access. No signup hassle.

Guava Jelly Preserve

Create a vibrant jewel-toned preserve from ripe guavas, ideal for filling cookies, spreading on toast, or topping desserts with natural sweetness.

Time to Prep
20 min
Time to Cook
45 min
Total Duration
65 min
Created by Aria Brooks


Skill Level Medium

Cuisine Type International

Makes 64 Serving Size

Dietary Notes Vegan-Friendly, Dairy-Free, Gluten-Free

What You'll Need

Fruit

01 3.3 pounds ripe guavas, cut into quarters with skins and seeds intact
02 4 cups water

Sweetener & Gelling

01 4 cups granulated sugar
02 2 tablespoons fresh lemon juice

How to Make It

Step 01

Prepare Guavas: Wash guavas thoroughly under running water. Cut them into quarters, leaving skins and seeds intact for pectin extraction.

Step 02

Cook Fruit: Place guava quarters in a large saucepan, add water, and bring to a boil over medium heat. Reduce heat and simmer for 30 minutes until fruit is very soft and easily breaks apart.

Step 03

Strain Juice: Line a large strainer with a double layer of cheesecloth and position over a bowl. Pour the cooked fruit and liquid into the strainer. Allow to drip undisturbed for at least 2 hours or overnight. Do not press or squeeze the fruit to maintain clarity.

Step 04

Measure and Combine: Measure the extracted juice and pour into a clean saucepan. For each cup of juice, add 1 cup of sugar. Add lemon juice and stir until sugar is completely dissolved.

Step 05

Boil Mixture: Bring the juice and sugar mixture to a boil over high heat, stirring frequently to ensure even sugar dissolution. Skim off any foam that rises to the surface.

Step 06

Reach Gel Stage: Continue boiling rapidly until the mixture reaches 220°F (104°C) on a candy thermometer, approximately 15 to 20 minutes. This is the gel stage for proper jelly consistency.

Step 07

Test Doneness: Place a small spoonful of the hot jelly on a cold plate and let cool slightly. Push the jelly with your finger. If it wrinkles and does not flow back, the jelly is ready.

Step 08

Jar and Seal: Pour the hot jelly into sterilized glass jars, leaving 1/4-inch headspace from the rim. Seal immediately with sterilized lids to create a tight seal.

Step 09

Cool and Store: Allow jars to cool completely at room temperature before transferring to a cool, dark storage location. The jelly will continue to set as it cools.

You Just Made Something Great 👏

Want more like this? Get my best easy recipes — free, straight to your inbox.

Join 10,000+ home cooks. No spam.

What You Need

  • Large saucepan with heavy bottom for even heat distribution
  • Cheesecloth and fine-mesh strainer for juice extraction
  • Measuring cups for precise ingredient quantities
  • Candy thermometer for accurate temperature monitoring
  • Sterilized glass jars with fitted lids for safe preservation

Allergy Info

Be sure to check every ingredient for possible allergens. If unsure, reach out to a health specialist.
  • Contains no common major allergens. Always verify ingredient labels for potential processing contaminants if you have specific sensitivities.

Nutritional Breakdown (per serving)

Nutritional details are for informational purposes and shouldn't replace advice from your doctor.
  • Caloric Value: 55
  • Fats: 0 g
  • Carbohydrates: 14 g
  • Proteins: 0 g

Cooking Shouldn't Be Hard ❤️

Get a free recipe pack that makes weeknight dinners effortless. Real food, real fast.

Free forever. Unsubscribe anytime.