 Pin It
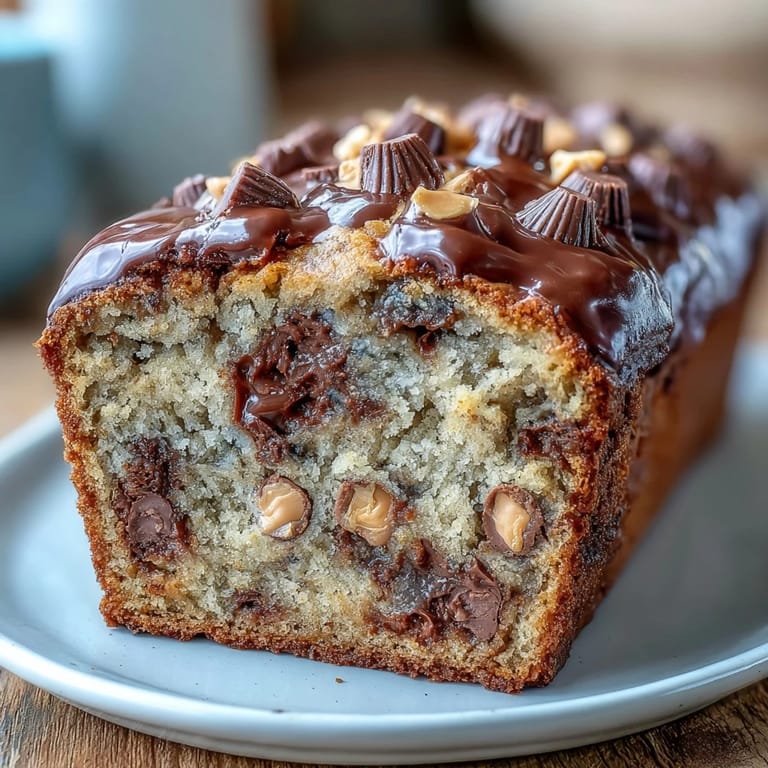
 There's something about the smell of banana bread baking that makes a kitchen feel like home, even when you're just learning to cook. My sister brought over a loaf one afternoon that was studded with peanut butter cups, and I remember thinking it was almost too indulgent for breakfast—but then I had a slice and understood immediately why she kept the recipe to herself. Now it's my turn to share this one, because it's the kind of bread that disappears faster than you'd expect, leaving only crumbs and the lingering aroma of chocolate and peanut butter.
I made this for a potluck once and watched people's faces light up when they realized what they were biting into. Someone asked for the recipe before they'd even finished their slice, which felt like the highest compliment a home baker could receive. It's the kind of bread that bridges the gap between dessert and breakfast, welcomed at both tables.
Ingredients
- Ripe bananas (3 large, mashed): The overripe ones with brown spots are exactly what you want here—they're sweeter and more flavorful than yellow ones.
- Unsalted butter (1/2 cup, melted): Melting it first means it blends smoother and keeps the crumb tender.
- Creamy peanut butter (1/2 cup): Don't use the natural stuff that separates; regular creamy peanut butter gives the richest flavor.
- Brown sugar (3/4 cup, packed): This adds moisture and a subtle molasses note that deepens the whole loaf.
- Granulated sugar (1/4 cup): Balances the brown sugar and helps with texture.
- Eggs (2 large, room temperature): They bind everything together and add structure—cold eggs won't incorporate as smoothly.
- All-purpose flour (1 3/4 cups): Measure by spooning and leveling, not scooping straight from the bag.
- Baking soda (1 teaspoon): This reacts with the acidic bananas to create lift and that tender crumb.
- Baking powder (1/2 teaspoon): A little extra rise for a lighter loaf.
- Whole milk or buttermilk (1/4 cup): Adds moisture and richness without overwhelming the peanut butter flavor.
- Vanilla extract (1 teaspoon): A small amount that pulls all the flavors together.
- Semisweet chocolate chips (3/4 cup): Mix them in gently so they stay intact and don't melt into the batter.
- Chopped peanut butter cups (3/4 cup): Cut them into chunks rather than leaving them whole—they distribute more evenly this way.
Tired of Takeout? 🥡
Get 10 meals you can make faster than delivery arrives. Seriously.
One email. No spam. Unsubscribe anytime.
Instructions
- Set up your stage:
- Preheat the oven to 350°F and line a 9x5-inch loaf pan with parchment paper, letting it overhang the sides so you can lift the loaf out cleanly. This step takes two minutes but saves you from a stuck loaf situation.
- Combine wet ingredients:
- In a large bowl, whisk together the mashed bananas, melted butter, both sugars, peanut butter, eggs, milk, and vanilla until the mixture looks smooth and unified. The peanut butter will soften from the warm butter, making it easier to blend in.
- Mix dry ingredients separately:
- In another bowl, whisk the flour, baking soda, baking powder, and salt together to distribute the leavening agents evenly. This prevents any bitter spots from concentrated baking soda.
- Bring it together gently:
- Pour the dry ingredients into the wet mixture and stir with a spatula just until combined—a few flour streaks are fine and actually preferable to overmixing. Overmixing develops gluten and makes the loaf tough instead of tender.
- Fold in the mix-ins:
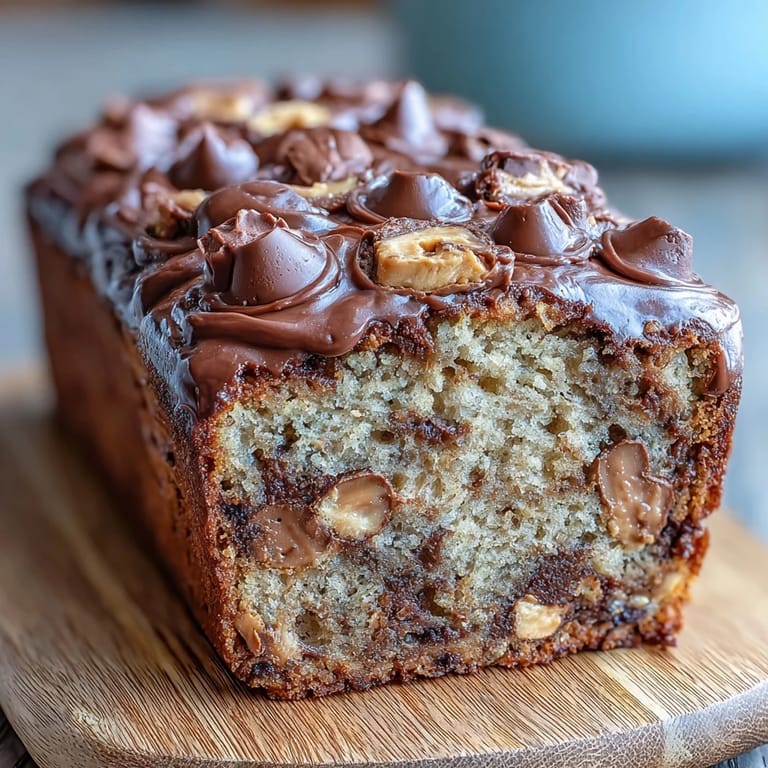
- Gently fold in the chocolate chips and chopped peanut butter cups, reserving a small handful for the top. This way the chocolate and peanut butter cups stay in distinct pieces rather than melting into the batter.
- Fill and top:
- Pour the batter into your prepared pan and smooth the top, then sprinkle the reserved chocolate chips and peanut butter cup pieces on top for visual appeal and extra flavor in each bite.
- Bake with patience:
- Bake for 50 to 60 minutes until a toothpick inserted in the center comes out with a few moist crumbs clinging to it. Overbaking is the enemy of a moist loaf—a little underdone is better than a dry crumb.
- Cool strategically:
- Let the loaf cool in the pan for 15 minutes before turning it out onto a wire rack. This resting time helps it firm up enough to handle without breaking apart.
 Pin It
 There was a morning when I pulled this loaf out of the oven and my kitchen smelled like a candy shop had merged with a bakery. My partner walked in mid-bake and asked if I was making dessert for breakfast, and I realized that's exactly what this bread is—permission to eat something indulgent early in the day without any guilt.
The Magic of Room Temperature Ingredients
I learned this lesson the hard way when I rushed and grabbed cold eggs from the fridge. The batter looked separated and lumpy, and I almost started over, but it baked into a perfectly fine loaf anyway—though I could tell the texture was slightly less silky than when I've used room-temperature eggs. Room temperature ingredients blend together more easily and create a more uniform, tender crumb. It's one of those baking rules that actually matters, even though it seems fussy.
Why This Works as Breakfast Bread
Unlike heavier dessert breads, this one has enough substance from the peanut butter and bananas to feel like actual food when you eat it in the morning. The sugar is real and it's present, but it doesn't feel excessive—more like you're eating a sophisticated muffin than a slice of cake. I've served this at brunch and nobody realized it was basically dessert until they thought about what they were eating.
Storing and Keeping Your Loaf Fresh
This bread actually improves slightly on day two as the flavors meld together, so don't feel rushed to finish it right away. Wrap it in plastic wrap or store it in an airtight container at room temperature for up to three days, or slice and freeze individual pieces for up to two months. Reheating a slice briefly makes it taste almost fresh-baked again, which is a small miracle in kitchen terms.
- Wrap it tightly the moment it's completely cool to lock in moisture.
- Freezing individual slices means you can pull out just what you want without thawing the whole loaf.
- A 15-second microwave reheat makes a frozen slice taste almost warm from the oven.
 Pin It
 This loaf has become my go-to when I need something that feels homemade and generous without being complicated. Serve it slightly warm with cold milk or coffee, and you've got something that feels far more special than the 20 minutes of actual work it took to make.
Recipe Questions & Answers
- → What type of bananas work best?
Use large, ripe bananas for natural sweetness and moist texture in the loaf.
- → Can I substitute almond butter for peanut butter?
Yes, almond butter adds a different nutty flavor while maintaining moistness.
- → How can I prevent the loaf from drying out?
Do not overmix the batter and bake until a toothpick comes out with moist crumbs to retain moisture.
- → Is it necessary to use parchment paper?
Parchment paper helps with easy removal and keeps the loaf intact after baking.
- → Can I add extra nuts for texture?
Yes, adding chopped roasted peanuts enhances crunch and complements the flavors.