 Pin It
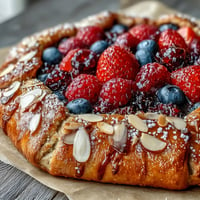
 The first time I made lemon blueberry scones, my kitchen filled with the sunny scent of zest and the soft pop of blueberries bursting in the oven. I still remember squeezing the lemon and feeling a quiet sense of anticipation as I wondered if the glaze would set just right. It became a vivid moment, not because it was extraordinary, but because the kitchen became brighter and more awake with each little step. Now, I think of these scones every time I want something cheerful on a weekend morning.
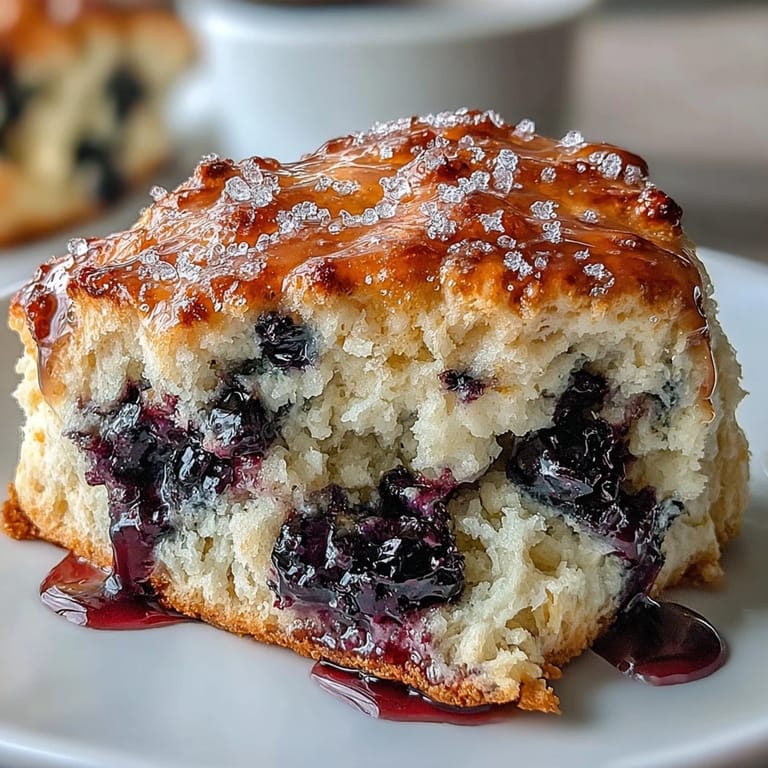
The best batch I ever made was for a brunch when my neighbor stopped by unexpectedly—I’ll never forget the way we ended up comparing which berries burst and which stayed whole. It turned a simple breakfast into a shared laugh and a lingering citrus aroma long after the scones disappeared.
Ingredients
- All-purpose flour: Using a reliable flour keeps the crumb tender and light, and I always fluff it up before measuring.
- Granulated sugar: Just enough sweetness to let the lemon shine without overpowering the fruitiness.
- Baking powder & baking soda: Together, they give the scones a gentle lift so they’re never dense.
- Salt: Even a little makes the lemon and berries taste brighter—don’t skip it.
- Lemon zest: Microplaning the zest releases a citrus perfume that wakes up the entire dough.
- Cold unsalted butter, cubed: The butter must be ice-cold; once, I tried using softened and the scones turned out flat and unhappy.
- Heavy cream: Cream adds richness; a splash on top helps achieve that golden finish.
- Egg: Adds a touch of structure and a richer flavor—take it out of the fridge right before you bake.
- Vanilla extract: A little vanilla smooths out the tartness and ties everything together.
- Fresh blueberries: I prefer firm, fresh berries for the best texture, but frozen work in a pinch (just don’t thaw them first).
- Powdered sugar (for glaze): It melts into a silky blanket over the scones and sets into a gentle shell.
- Fresh lemon juice (for glaze): The sharper the lemon, the brighter the flavor—sometimes I sneak in an extra squeeze.
Tired of Takeout? 🥡
Get 10 meals you can make faster than delivery arrives. Seriously.
One email. No spam. Unsubscribe anytime.
Instructions
- Get the Oven Ready:
- Set your oven to 400 F and line a baking sheet with parchment—the kind that rattles slightly against the baking tray.
- Mix the Dry Ingredients:
- Whisk together the flour, sugar, baking powder, baking soda, salt, and lemon zest in a big bowl, taking a second to inhale that fresh zest.
- Cut in the Butter:
- Drop in the cold butter cubes and work them gently into the flour with your fingers or a pastry cutter until it looks like coarse beach sand.
- Combine the Wet Ingredients:
- In another bowl, whisk the heavy cream, egg, and vanilla until smooth, then pour over the dry mix and stir softly—just until barely together.
- Fold in Blueberries:
- Gently stir in the berries, trying not to squish them—the dough will be sticky but that’s exactly right.
- Shape the Dough:
- Scoop the dough onto a floured surface and pat into a 7-inch circle, about an inch thick.
- Cut into Wedges:
- Slice the dough into 8 triangles and space them out on your lined tray so they can grow golden and proud.
- Cream and Bake:
- Brush the tops with a bit of extra cream and bake for 16–18 minutes, until the scones are golden and just barely firm at the edges.
- Cool and Glaze:
- Set the scones on a rack to cool, then whisk together the powdered sugar and lemon juice and drizzle generously once they’re no longer hot.
 Pin It
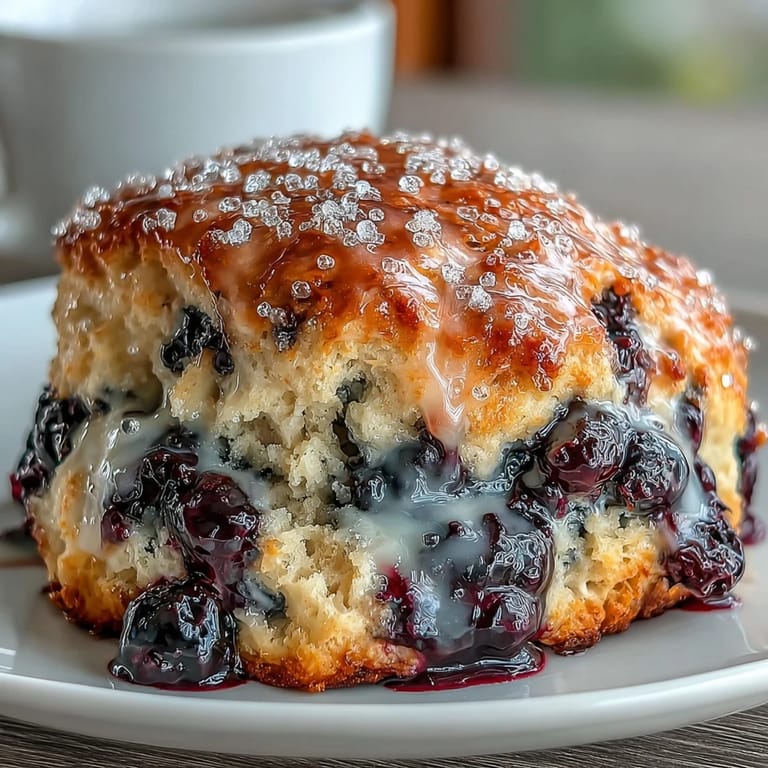
 There was one sunny spring afternoon when a friend showed up just as I finished drizzling the glaze—they insisted the scones tasted even better eaten warm with sticky fingers. That messy moment made the recipe feel like a true keeper.
How to Get Fluffy, Not Dry, Scones
One trick I picked up is handling the dough as little as possible, even if it looks a bit scraggy—those bits bake up so tender. Chilling the shaped scones for a few minutes before baking helps with height and crumb.
Making Scones Ahead of Time
I tried shaping the wedges and refrigerating them overnight once, and they baked up just as airy the next morning. It’s a perfect hack if you want bakery-fresh breakfast with almost no morning effort.
Simple Swaps and Extra Touches
Sometimes I substitute orange for lemon or add a little drizzle of honey to the glaze for a softer sweetness. A sprinkle of coarse sugar before baking turns the tops beautifully crunchy.
- The glaze sets faster if the scones are completely cool.
- Frozen berries shouldn’t be thawed—they’ll bleed too much color.
- If you like, toast leftover scones lightly the next day for a crisp edge and soft center.
 Pin It
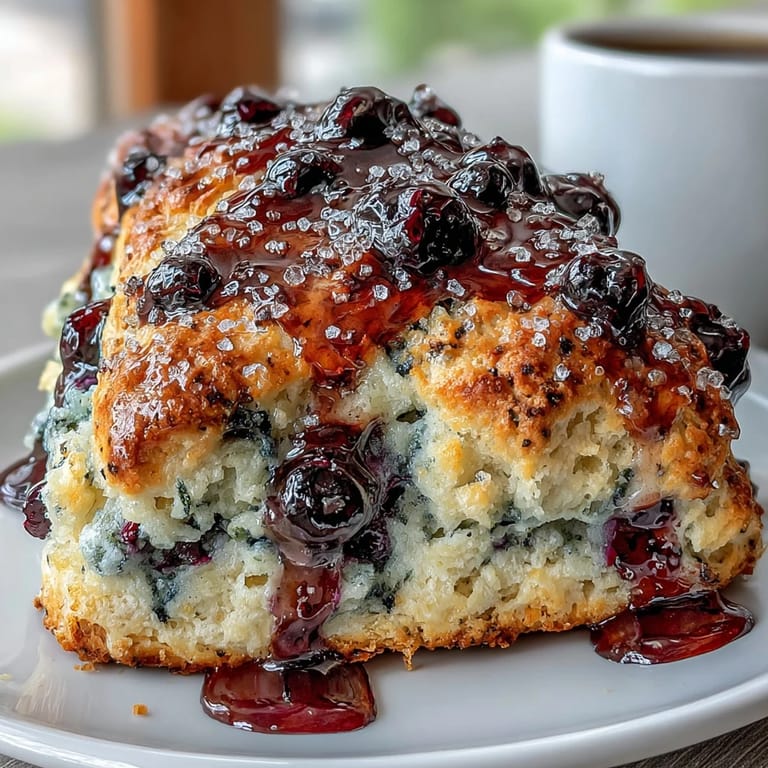
 May every batch of scones bring a bit of brightness to your kitchen and surprise you with just how easy they were to make. They’re even better shared with someone, even if just over morning coffee.
Recipe Questions & Answers
- → Can I use frozen blueberries?
Yes. Add them frozen and fold gently to avoid color bleed. They retain shape better and prevent the dough from turning purple.
- → How do I keep scones flaky?
Work with cold butter and minimal handling. Cut butter into coarse crumbs and mix wet and dry just until combined to preserve pockets of butter that create flakiness.
- → Can I make them ahead and freeze?
Yes. Freeze unbaked wedges on a tray, then transfer to a bag. Bake from frozen, adding a few extra minutes to the bake time for even cooking.
- → Any dairy-free substitutions?
Replace heavy cream with a full-fat coconut milk or a dairy-free creamer for similar richness, and use a plant-based butter that stays firm when cold.
- → How do I prevent soggy bottoms?
Use a preheated baking sheet and parchment, space wedges for airflow, brush tops lightly with cream but avoid excess, and bake until golden at the edges.
- → What variations work well?
Swap lemon zest and juice for orange for a milder citrus, add coarse sugar on top for crunch, or fold in white chocolate chips for extra sweetness.