Pin It
 My neighbor Maria handed me a bag of guavas one humid afternoon, the fruit still warm from her tree, and said simply, "Make something." I'd never worked with guavas before, but standing in my kitchen with their perfumed sweetness filling the air, I understood why she was so proud of them. Three hours later, I had jars of the most luminous preserve catching the light on my shelf. Now whenever someone opens that jam, they taste exactly what that moment felt like—tropical, generous, and a little bit like magic.
I brought a jar to a dinner party where someone was skeptical about homemade preserves, muttering something about "store-bought being good enough." By the end of the night, they were spreading it on everything—cheese, crackers, even spooning it straight onto vanilla ice cream. That moment of watching skepticism melt into genuine delight made every stirring session worthwhile.
Ingredients
- Ripe guavas (1.5 kg or about 10–12 medium): The quality of your preserve depends entirely on choosing guavas that yield slightly to pressure and smell deeply fragrant; unripe ones won't have enough natural pectin or flavor, while overripe ones can turn mushy.
- Granulated sugar (700 g): This ratio isn't random—too little and your preserve won't set properly, too much and it becomes cloyingly sweet; you can adjust downward slightly if your guavas are particularly sweet, but start here.
- Fresh lemon juice (2 tablespoons): This isn't just acid for brightness; it actually activates the natural pectin in guavas and helps the preserve reach the right consistency faster.
- Water (1 cup): Seems like a small amount, but it's carefully calculated to soften the fruit without diluting those intense guava flavors.
Tired of Takeout? 🥡
Get 10 meals you can make faster than delivery arrives. Seriously.
One email. No spam. Unsubscribe anytime.
Instructions
- Prepare your guavas with intention:
- Wash them under cool water, then cut into quarters and scoop out the seeds with a small spoon—this takes patience, but reserve every bit of flesh you can because it's pure flavor. If you're working with particularly seedy guavas, don't fight it; those seeds will come out later through the sieve anyway.
- Cook the fruit until it's completely yielding:
- Combine guava flesh with water in a large saucepan and bring to a boil, then lower the heat and let it simmer gently for 15–20 minutes until the fruit breaks apart easily. You'll notice the color deepening and the kitchen filling with that unmistakable tropical sweetness.
- Break down the fruit to your preferred texture:
- Use a potato masher to create a rustic pulp, or blend briefly if you want something smoother; either way works perfectly. This is also where you can taste and adjust your expectations about the final texture.
- Push everything through a sieve for refinement:
- Press the cooked mixture through a fine sieve or food mill to remove remaining seeds and any tough bits, creating a silky pulp that feels luxurious on the tongue. This step separates a rough jam from something that tastes genuinely elegant.
- Combine pulp with sugar and lemon juice:
- Return the sieved pulp to your cleaned saucepan, add the sugar and lemon juice, and stir thoroughly until the sugar begins dissolving. The mixture will look quite thin at this point, which is exactly right.
- Bring to a rolling boil with constant attention:
- Increase the heat to medium-high and stir constantly to prevent the bottom from scorching; you want the entire mixture moving, not just the edges bubbling. This constant stirring is what prevents that burnt sugar smell and ensures even cooking.
- Simmer gently until the preserve thickens:
- Lower the heat to medium and continue stirring frequently for 35–45 minutes, watching as the mixture gradually transforms from syrupy to glossy and thick. You'll see it reduce noticeably, becoming darker and more jewel-like with each passing minute.
- Test for the perfect set:
- Drop a small spoonful onto a chilled plate and let it cool for a few seconds, then push it gently with your finger—if it wrinkles and moves slowly, it's ready; if it spreads immediately, it needs more time. This wrinkle test is your most reliable guide; don't skip it.
- Remove foam and jar while hot:
- Skim away any foam from the surface with a spoon, then ladle the preserve into sterilized jars, leaving about ½ cm of headspace at the top. Seal immediately while everything is still hot, creating that satisfying pop as the jars cool and seal themselves.
 Pin It
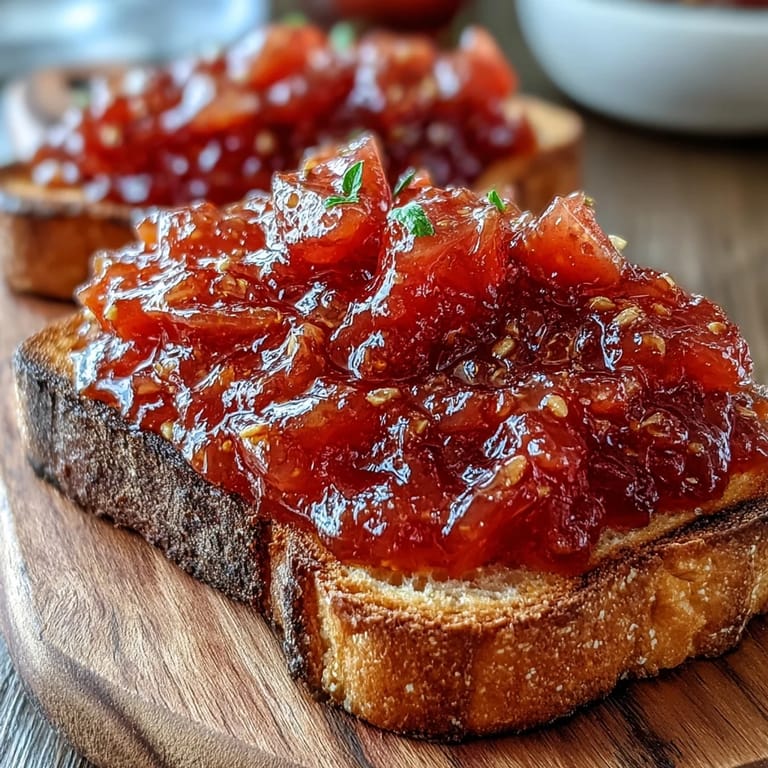
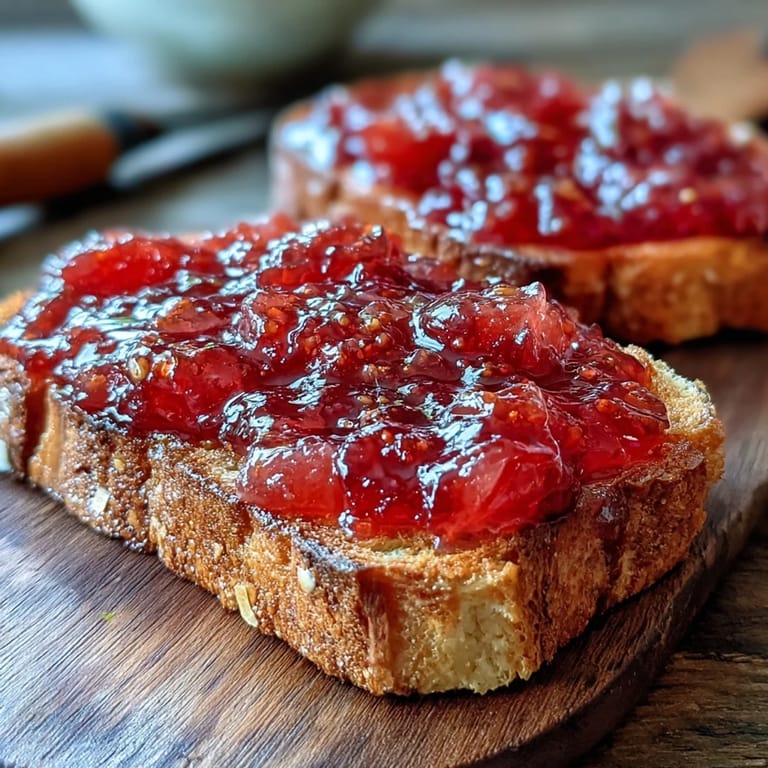
 One rainy evening, I served this preserve to my daughter on warm toast, and she closed her eyes after the first bite like she was tasting something from a dream. She asked if guavas grew in our backyard, convinced something so good must be just outside, and that question made me realize how far homemade food travels beyond simple sustenance into memory-making.
Serving Suggestions That Actually Work
Guava preserve is almost too versatile, which is both a gift and sometimes paralyzing when you're staring at a full jar wondering where to start. The most memorable serving I've discovered isn't the obvious cheese board pairing (though that's divine with sharp cheddar or aged manchego), but rather a small dollop on vanilla ice cream where the warmth of the preserve creates this unexpected richness against the cold cream. The preserve also transforms ordinary pastries—a teaspoon swirled into plain yogurt, spooned between butter cookies, or folded into whipped cream takes them from ordinary to the kind of thing people ask for by name at breakfast the next morning.
Storage and Shelf Life Wisdom
I learned the hard way that patience with cooling matters; I once tried to move jars of preserve too quickly while they were still hot, which broke one and caused another to seal improperly. Now I let them cool completely at room temperature on a countertop, which typically takes several hours, and only then do I move them to the refrigerator or pantry. Properly sealed jars keep in the refrigerator for three months, but you can also process them in a boiling water bath for shelf-stable storage of six months or longer if you're comfortable with that method.
Variations and Personal Touches
The beauty of this recipe is that it can adapt to your preferences without losing its essential character. Some people reserve a few chunks of guava flesh before sieving and fold them back in at the end for a jammy texture with bits of fruit, while others add a small vanilla bean or a whisper of cardamom to emphasize the exotic quality. I once made a batch with half honey instead of all sugar, which gave it a deeper, almost mysterious flavor that felt less bright than the traditional version but in an intriguing way.
- For a chunkier preserve that feels more homemade and rustic, set aside some guava pieces and fold them in just before jarring.
- A single vanilla bean, split lengthwise, simmered with the cooked fruit and removed before sieving, adds an sophisticated undertone.
- If honey is your preference, use about 350 ml honey combined with 350 ml sugar to get the same setting power and a more complex sweetness.
 Pin It
 Every jar of guava preserve represents an afternoon of care and attention, and that's what makes it feel different from anything store-bought. Share these jars generously and watch people's faces light up with surprise at something homemade that tastes this luxurious.
Recipe Questions & Answers
- → How do I know when the guava preserves are ready?
Place a small amount of the hot mixture on a chilled plate. Let it cool for a minute, then push it gently with your finger. If the surface wrinkles, your preserves have reached the proper consistency and are ready to jar.
- → Can I make these preserves with frozen guava pulp?
Yes, frozen guava pulp works well. Thaw completely before use and adjust the cooking time slightly, as frozen pulp may release more liquid during cooking. You may need to simmer a few minutes longer to achieve the desired thickness.
- → How long will these guava preserves last?
Properly sealed and stored in the refrigerator, these preserves will keep for up to three months. For longer storage, process the jars in a boiling water bath for 10 minutes, which allows shelf-stable storage for up to one year in a cool, dark place.
- → What's the best way to serve guava preserves?
These preserves shine when paired with sharp cheddar or creamy brie on cheese boards. Spread generously on toast, biscuits, or croissants. They also make an excellent filling for thumbprint cookies, pastries, or layered between cake tiers.
- → Can I reduce the amount of sugar in this recipe?
You can reduce sugar slightly, but keep in mind that sugar acts as a preservative and helps achieve the proper gel consistency. If reducing significantly, consider adding commercial pectin to ensure the preserves set properly and maintain a safe shelf life.
- → Do I need to peel the guavas before making preserves?
Peeling is not necessary. The guava skins will soften during cooking and will be removed along with seeds when you press the mixture through a sieve or food mill. This method retains both flavor and nutrients from the peel while ensuring a smooth final texture.