 Pin It
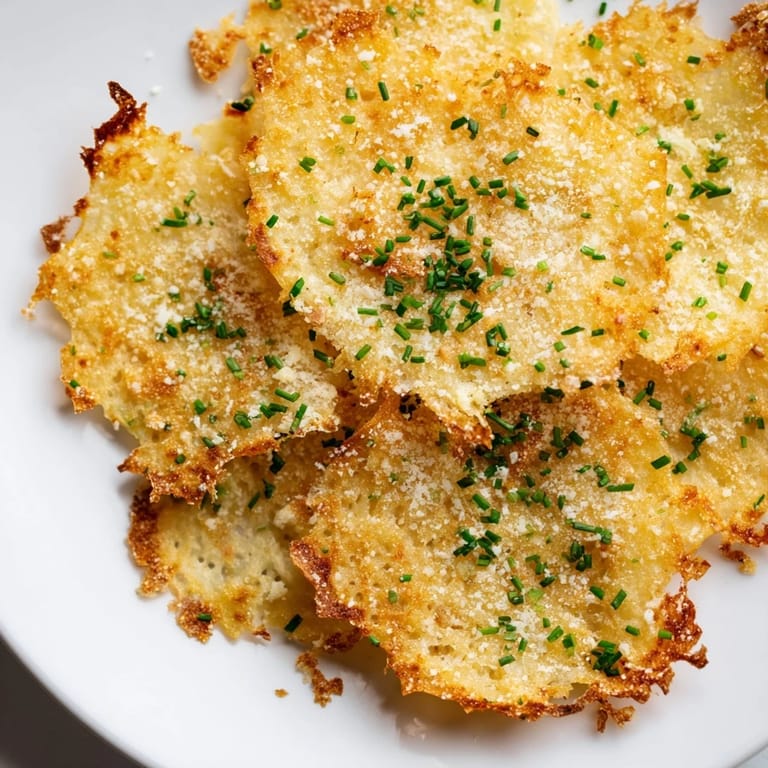
 I discovered these by accident on a Tuesday afternoon when I was staring at a container of cottage cheese, wondering why I kept buying it only to let it sit forgotten in the back of my fridge. Something clicked—what if I could transform it into something crispy and crave-worthy instead of just another sad desk lunch? Twenty minutes later, golden, crunchy chips were coming out of my oven, and I couldn't stop eating them straight off the baking sheet.
My roommate walked into the kitchen while the second batch was cooling and grabbed one without asking. She ate five in a row before I could even tell her what was in them—that's when I knew I'd actually cracked the code on something special.
Ingredients
- Cottage cheese: Full-fat or low-fat, small curd works best because the curds will stay intact and crisp up rather than turn into a gluey mess. Don't skip the draining step.
- Garlic powder: Gives you that savory depth without any moisture issues that fresh garlic would create.
- Onion powder: Layers in a subtle sweetness that rounds out the saltiness.
- Smoked paprika: Optional, but it's the difference between plain and genuinely crave-worthy.
- Black pepper, salt: Season generously—these little chips need assertive flavor to shine.
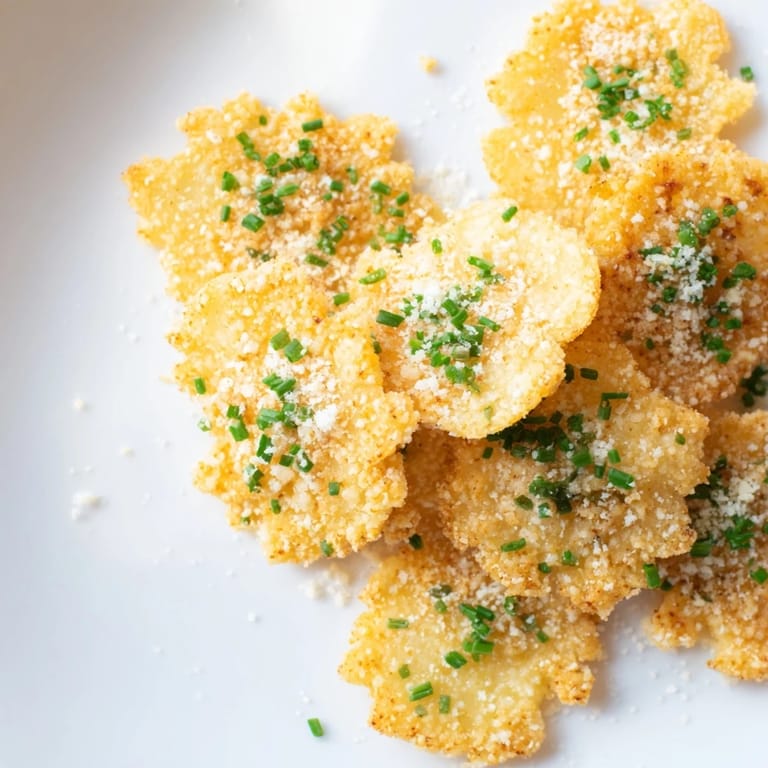
- Chives and Parmesan: The finishing touch that makes people ask what bakery you bought these from.
Tired of Takeout? 🥡
Get 10 meals you can make faster than delivery arrives. Seriously.
One email. No spam. Unsubscribe anytime.
Instructions
- Get your setup ready:
- Preheat the oven to 350°F and line your baking sheet with parchment paper. This is non-negotiable if you want chips that lift off cleanly.
- Drain like you mean it:
- Press the cottage cheese through a fine-mesh sieve, then pat it dry with paper towels. The drier it is now, the crispier it'll be later—this step changes everything.
- Season and mix:
- Combine the drained cheese with garlic powder, onion powder, paprika, pepper, and salt in a bowl. Mix until the seasonings are completely distributed and there are no white streaks.
- Spoon and flatten:
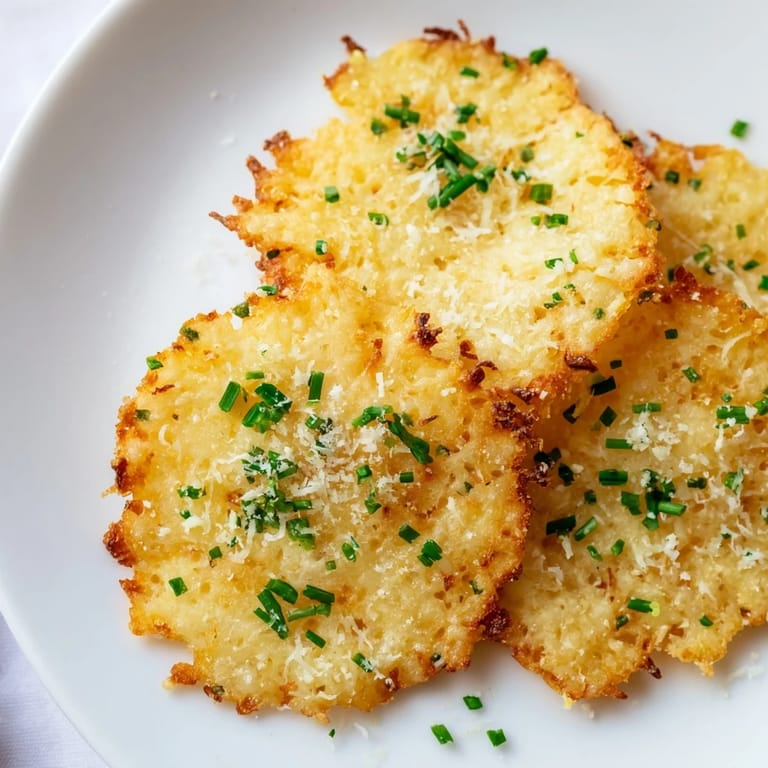
- Drop tablespoon-sized mounds onto the prepared sheet, spacing them about 2 inches apart. Gently flatten each one with the back of a spoon until they're thin circles, about 2 to 2.5 inches across.
- Top if you want to:
- Sprinkle chives or Parmesan over the tops right before baking.
- Bake until golden:
- Bake for 30 to 35 minutes until the edges are deep golden brown and the centers are set. They'll still feel slightly soft when warm, but that's okay.
- Cool completely:
- Let them sit on the baking sheet until they're room temperature—this is when they crisp up fully and become properly crunchy. It takes patience, but it's worth it.
 Pin It
 I brought a batch to a potluck and watched people reach for a second handful before they even knew what they were eating. When I told them it was cottage cheese, the shocked silence was its own kind of delicious victory.
The Science of Crunchy
What makes these crispy is water content—or rather, the complete removal of it. Cottage cheese is mostly liquid, so when you drain it thoroughly and spread it thin, the oven transforms it into something with a completely different texture. The low temperature (350°F instead of higher) keeps the outside from burning before the inside dries out completely. It's gentler, more forgiving, and actually more reliable than you'd expect.
Flavor Variations That Actually Work
I've tried adding everything from chili flakes to dried dill, and while some experiments went sideways, a few stuck around. The key is using powdered seasonings instead of fresh ones, since fresh herbs or wet ingredients introduce moisture that works against the crispiness you're building. Think of it like seasoning a chip rather than making a dip.
Storage and Serving Ideas
These are best eaten within a day of making them, though they'll last two days in an airtight container if you're stashing them for later. Serve them plain, with a Greek yogurt dip, or alongside salsa if you want something more substantial. They're genuinely good straight from the container as a protein-heavy snack, which is how they usually disappear from my house.
- Store them in an airtight container away from moisture, or they'll gradually soften over time.
- If they do lose crispness after a day, you can re-crisp them in a 300°F oven for about 5 minutes.
- Batch them on the weekend if you want protein snacks ready for the week ahead.
 Pin It
 These chips turned a pantry staple I was tired of into something I actively look forward to making. That's the best kind of recipe transformation.
Recipe Questions & Answers
- → How do I ensure the chips turn out crispy?
Press the cottage cheese well to remove excess moisture and flatten the mounds thinly before baking. Baking until golden brown helps achieve crispiness.
- → Can I add extra flavors to these chips?
Yes, consider adding chili flakes or dried herbs to the seasoning mix for additional flavor layers.
- → What toppings work best for these chips?
Finely chopped chives or grated Parmesan cheese add a nice touch before baking, enhancing flavor and texture.
- → Are these chips suitable for gluten-free diets?
Yes, since all ingredients are naturally gluten-free, they are ideal for gluten-free snacking.
- → How should I store leftover chips?
Keep them in an airtight container at room temperature for up to two days to maintain crisp texture.
- → What dips pair well with these chips?
They pair well with Greek yogurt dip, salsa, guacamole, or any creamy or spicy dips of your choice.